
HOW TO SEE IF YOU CAPTURED THE FOCAL POINT
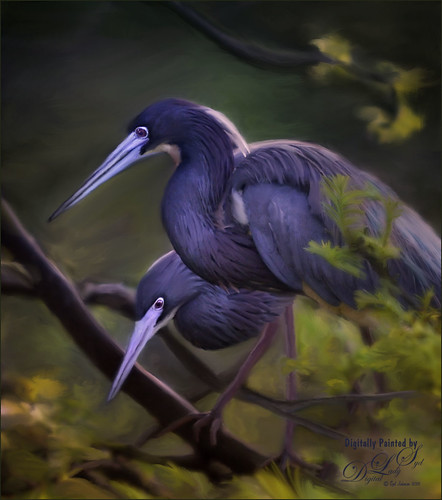 Just a short blog to say Hi with another one of my bird shots from the St. Augustine Alligator Farm Rookery. Thought I would review my focal point tips with you even though I have covered this recently. It is such a crucial part of both digital photography and digital painting to make your images successful. It is also one of the areas I struggle with the most.
Also I have been trying to get a good stroke with the Mixer Brushes in Photoshop. I am learning it is really important to have a good blending mixer brush, a good mixer to add color in very gently, and a good regular sketch brush to straighten up lines in your image. I can’t tell you how many clean up layers were in this image. Instead of adding a texture, this time the clean up involved using Mixer Brushes to smooth and remove the very cluttered appearance of nature behind the birds which was so distracting. (See left image below.) Found a very creamy oily brush (used Fay Sirkis‘s 04 Precious Oil Diamond Blender in case you have her brushes – love her Photoshop brushes for painting) to blend in areas to remove the distractions.
It was difficult determining what was important enough to leave in the image besides the birds. I did not want to totally remove the birds from their natural habitat, but in this image it was over-taking the birds in the image. Therefore lots of removing, checking it out, and removing more. Also needed to remember that people are drawn to the eyes and beak of a bird, so those needed to be pretty sharp even though they are painted. Used the Exposure Adjustment Layer again to help with this. (See How To Do a Quick Eye Sharpening in Photoshop.)
Two quick tricks can be an aid to determining if the focal point is actually correct:
1. Squint your eyes and see what pops out at you. Lots of painters use this trick and it seems to really help when looking at a busy image.
2. Add a temporary Black and White Adjustment Layer on top of your image and see what pops out at you. If your background is showing up too much, need to subdue it.
Here is what the original image looked like and what the final image looks like with the Black & White Adjustment Layer added. My focal point was the bird beaks and you can see how the beaks stand out nicely – in the original they blended much more into their bodies.


As a last step Nik Viveza 2 was used to create a soft vignette effect. I am finding I also use the Black & White Adjustment Layer at the beginning of my workflow to see where the tonal contrast is before I start post-processing the image. If that area is not where you want the eye to go, you have some work to do. Hope you have a wonderful week!…..Digital Lady Syd
Digital Lady Syd Related Blogs:
How To Use a Black & White Adjustment Layer To See Contrast In an Image
What About This Focal Point Issue?

Good advice-as always!
06/06/2015 at 9:41 am
Thanks Pat!
06/06/2015 at 1:16 pm
Thank you for the tip! I have never used the black & white adjustment layer to check the focal point, but now i see what you mean.
06/11/2015 at 4:06 pm
Pingback: MORE PAINTING – WITH PAINTER AND PHOTOSHOP | Digital Lady Syd's Fun Photoshop Blog
Pingback: HOW TO GET A PAINTERLY EFFECT FOR WILDLIFE AND BIRDS | Digital Lady Syd's Fun Photoshop Blog
Pingback: » Texture Everywhere! Digital Lady Syd's Tidbits Blog
Pingback: RECYCLE-HOW TO GET A PAINTERLY EFFECT FOR WILDLIFE AND BIRDS | Digital Lady Syd's Fun Photoshop Blog